welcome to my journal
One of the most stressful parts of wedding planning can often be the Timeline. There are many tips and posts out there for helping brides come up with the perfect timeline, but I’ve found few that pertain specifically to LDS Temple weddings. Why? Because there are SO many factors to consider that there isn’t one easy cut and dry method to suggest. But I’ve been working on a series of tips and things to consider when it comes to creating your LDS Temple Wedding Timeline so that you can get the most out of your day without exhausting you and your family, have time for epic photos, and to get the party hopping at the reception!
 1. KNOW THE SUNSET TIME
This first tip is universal for every timeline. Check the sunset time for your wedding day and location. You want to work all portraits around that time, especially if you’re using a predominantly natural light photographer (like me!), because after the sun sets, it’s pretty hard to get those bright, light, and dreamy photos. This is my go to site for checking sunrise and sunset times: https://www.timeanddate.com/sun/
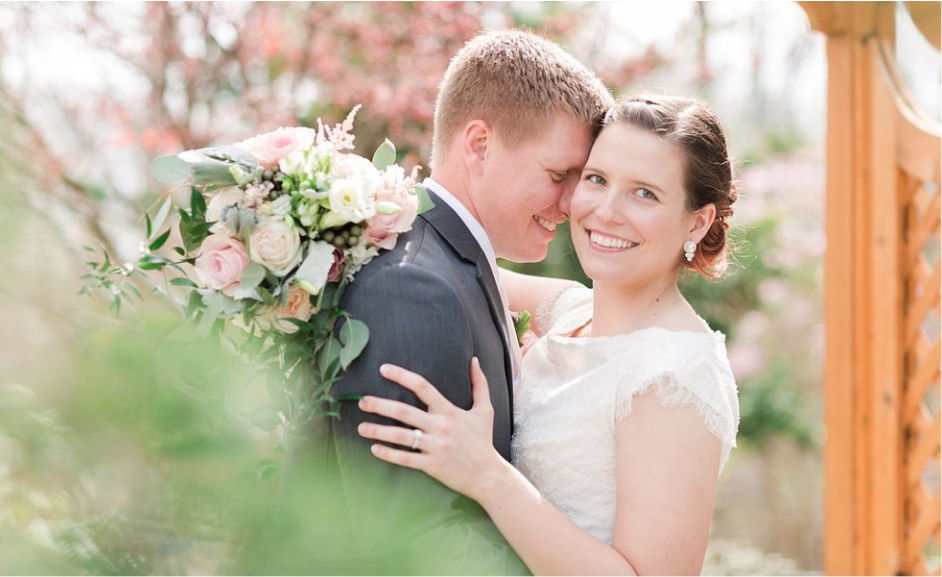
The hour leading up to sunset is the most ideal time for taking Bride and Groom portraits!
If you’re having an outdoor reception and want light and airy photos of the decor, you’ll want to plan around sunset and either have the decor set up early for the photographer, or have an early evening reception.
2. TEMPLE ENTRANCE AND EXIT TIMING
Entrance: The Temple will want you to be inside an hour before your sealing time. This means that if you want a First Look or any Family/Wedding Party photos before the temple you need to plan in enough time to get those done AND get changed (as most temples want you coming in with your street clothes on and prefer you to change in the Visitor’s Center or off-site and not in the temple waiting room bathroom.
Exit: Couples typically come out of the temple 45 minutes to one hour after the sealing start time. So if your sealing is at 4pm, you’ll likely come out of the doors and greet your friends and family at 4:45/5pm.
3. THE SEALING TIME IN RELATION TO LIGHT
While I can make any light situation work, the most beautiful and flattering light is late afternoon/evening light (with morning light being the next choice). Especially in southern UT, the evening light has an extra golden (and sometimes pink!) tone to it that makes skin look amazing and is the easiest to get that beautiful glow in the photos.
4. THE SEALING TIME IN RELATION TO HEAT
This tip goes along with the first tip in a way. Keep the expected weather in mind. I shoot a number of LDS Weddings here in Utah in the summer, and considerations have to be made for those as it can easily be 100 degrees at midday! That’s not the time you want your sister’s baby, your grandmother, or anyone really out in the heat for extended amounts of time!
When you think about when you want photos (right after you come out of the temple? later in the day? before you go in?) take into account that summer heat!
Knowing sunset and sunrise photos during the summer is important so you can decide which end of the day to stack things on if you want to avoid the worst Utah heat! Luckily spring is much easier!
For Summer weddings I suggest either an early morning First Look, a First Look and Bridal session the evening before, or stacking everything near the end of the day (First Look just before going into the temple, then the temple exit, family photos, wedding party photos, and finally Bride and Groom sunset shots before everyone grabs a bite to eat and heads to the reception.
5. THE SEALING TIME IN RELATION TO HOW EARLY YOU HAVE TO GET UP
Somehow 10am has become Mormon Standard Time for getting married. It’s coolish when you go into the temple, you can have a luncheon right after, and then go finish setup for the reception before it starts.
BUT…
That makes for a LONGGGGG day! For many brides (and mothers, sisters, or bridesmaids helping out), this means getting up at 5am to start hair and makeup. A 10am sealing means a 9am “call time” for the Bride and Groom to go into the temple, add in 1/2 an hour of travel/traffic from houses, and then if a First Look or any photos before the sealing are wanted, that time must be factored in before as well. It can make for an early morning, which then means everyone will be tired and pooped by 2-3 pm. And then there’s still the reception and maybe even some set up!
For some weddings and family situations, this timeline really is just what needs to happen. So many weddings, though, I see have this timeline and they don’t really need it. If possible, I suggest stacking everything later in the day! Depending on your photographer, this will also help lower your costs by shortening their working hours!
I hope these tips helped! There is so much to think about with timing and setting up your wedding day to be the celebration of marriage and family. I know when I got married I didn’t understand ANY of these tips, so I hope this sets you up to have the tools you need! (Because, that’s what I’m here for!)
May 21, 2018
Tips for an LDS Temple Wedding

Leave a Reply Cancel reply
© 2025 All copyright, trademark, and other intellectual property rights in this site, are the property of kristi lyn photography.
TERMS & CONDITIONS
privacy policy
cookies policy
facebook disclaimer: This site is not a part of the Facebook website or Facebook Inc. Additionally, This site is NOT endorsed by Facebook in anyway. FACEBOOK is a trademark of FACEBOOK, Inc.